Layer Properties
ImagiTool Team
Learn how to use layer properties in ImagiTool Photo Editor to rename, hide, lock, reorder, duplicate, and manage layers with confidence.
Layer properties are the controls that keep complex edits organized. When your design has text, graphics, and image elements, these settings help you control what can move, what stays hidden, and what stays protected.
This guide covers practical layer properties you will use every day. It is a focused controls guide, not a deep dive into opacity and blend mode strategy.
What You'll Learn
- Where layer properties live in the Layers popup.
- How to rename, hide, lock, and reorder layers quickly.
- How to duplicate and delete layers without breaking your layout.
Step-by-Step Guide
Step 1: Open Layers and Select the Target Layer
- Click Layers in the bottom bar, or press
L. - In the layer tree, click the layer you want to edit.
- For range selection, use
Shift + Click. For multi-select, useCtrl/Cmd + Click.
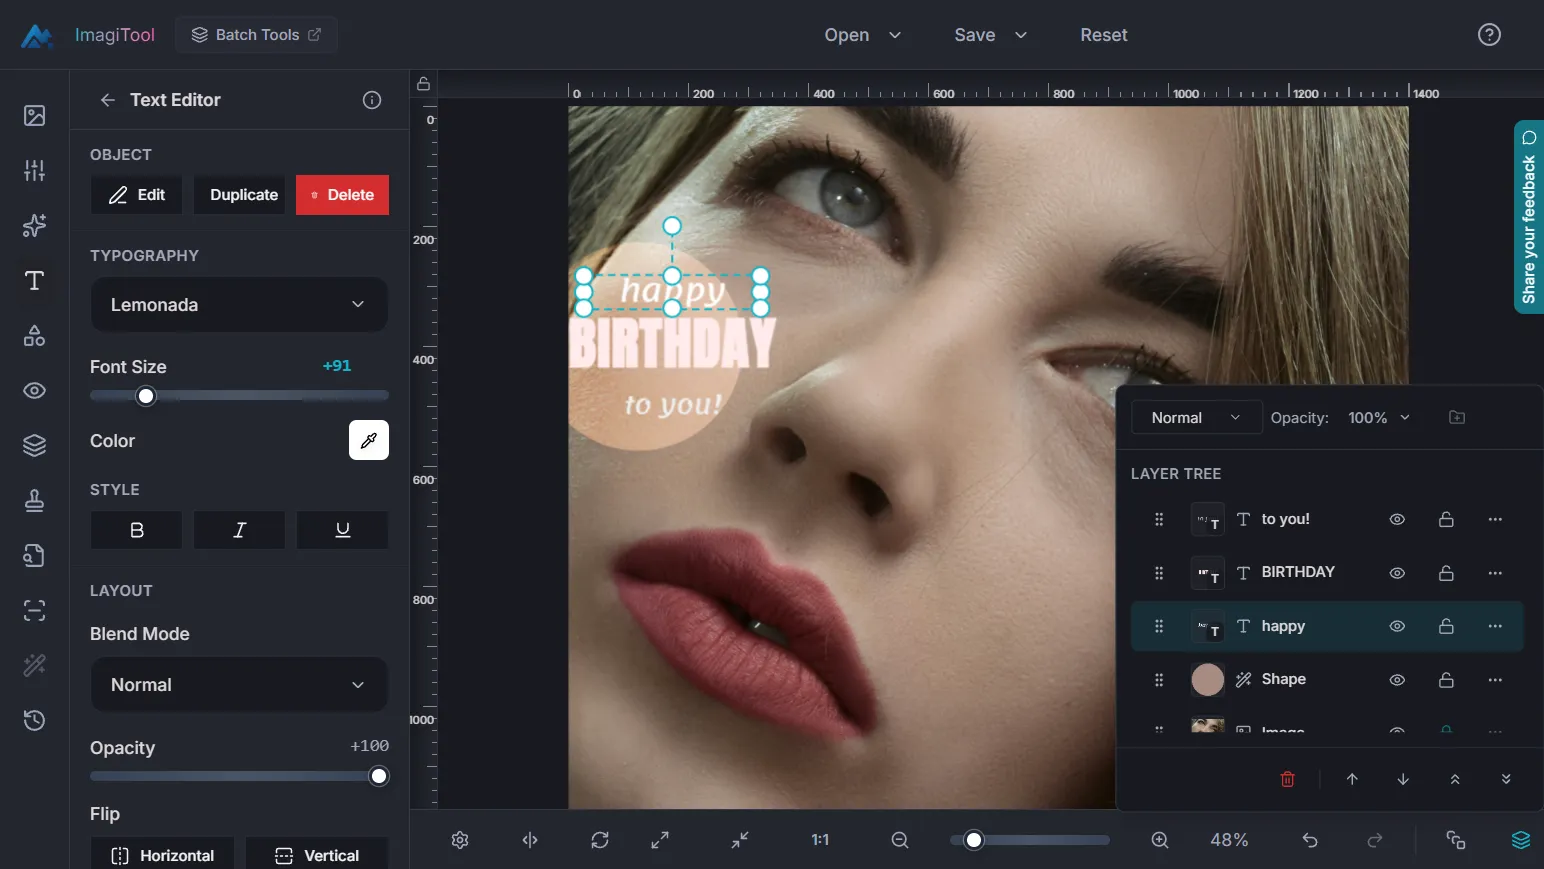
Step 2: Set Core Layer Properties
Each row in the layer tree gives you fast controls:
- Visibility -> Use the eye icon to show or hide a layer.
- Lock -> Use the lock control to prevent accidental edits.
- Name -> Double-click the layer name to rename it.
You can choose lock behavior based on your task: keep content safe, freeze transforms, or fully lock the layer.
Step 3: Adjust Blend Mode and Opacity
At the top of the Layers popup, you can change:
- Blend Mode from the dropdown list.
- Opacity using the percentage control and slider.
Use this for quick refinement while building your composition. A separate guide covers opacity and blend mode decisions in detail.
Go deeper in Understanding Opacity and Blend Modes.
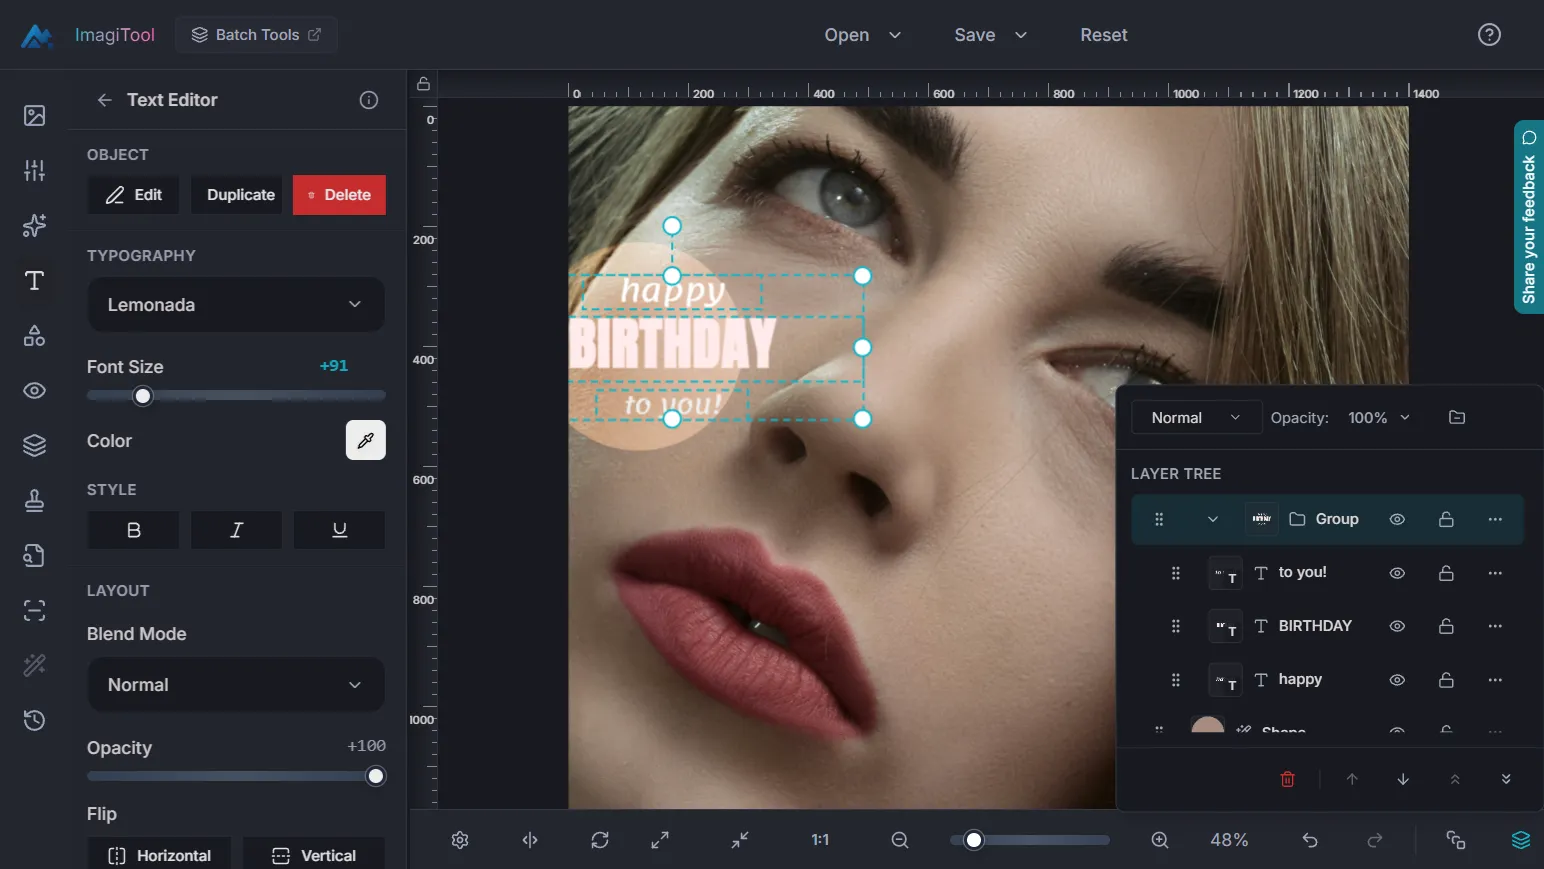
Step 4: Reorder, Duplicate, or Remove Layers
Use the bottom action bar for stack control:
- Bring Forward
- Send Backward
- Move To Top
- Move To Bottom
- Delete Selected
For extra versions, duplicate first, then edit the copy. It is safer than editing the only version of a key layer.
Key Properties Explained
- Visibility -> Temporary hide/show without deleting content.
- Lock Mode -> Prevents unwanted edits while you work on nearby layers.
- Name -> Makes large projects readable and easier to hand off.
- Blend Mode -> Controls how a layer mixes with layers below.
- Opacity -> Controls layer transparency from 0% to 100%.
- Stack Order -> Controls what appears in front or behind.
Pro Tips
- Rename layers before long editing sessions, not at the end.
- Lock finished layers before adjusting nearby text or graphics.
- Duplicate important layers before major style experiments.
- Recheck stack order before export to avoid hidden overlaps.
Common Issues
Why can I not edit a layer?
The layer is likely locked. Switch lock mode or unlock it first.
Why did my element disappear?
Check the eye icon for that layer. It may be hidden, not deleted.
Why did reordering not change anything?
Another layer or group may still cover the item. Move it to top and verify visibility.
Why is Delete Selected disabled?
You need at least one deletable selected layer.