Introduction to Layers and Groups
ImagiTool Team
Understand how layers and groups work in ImagiTool Photo Editor so you can edit with more control and fewer mistakes.
Layers are how you keep edits flexible instead of destructive. In ImagiTool, each image, text block, and graphic can sit on its own layer, so you can change one part without rebuilding the whole design.
This guide introduces the core idea of layers and groups. You will use this foundation in the deeper guides on layer properties, opacity, blend modes, and group workflows.
What You'll Learn
- What layers and groups mean in practical editing terms.
- How the layer stack controls what appears in front or behind.
- A simple workflow to select, group, and move multiple items together.
Step-by-Step Guide
Step 1: Understand What Counts as a Layer
Think of your project like stacked transparent sheets.
- Your base image starts as one layer.
- Adding text, graphics, or extra images creates new layers.
- Each layer can be moved, hidden, locked, reordered, or edited on its own.
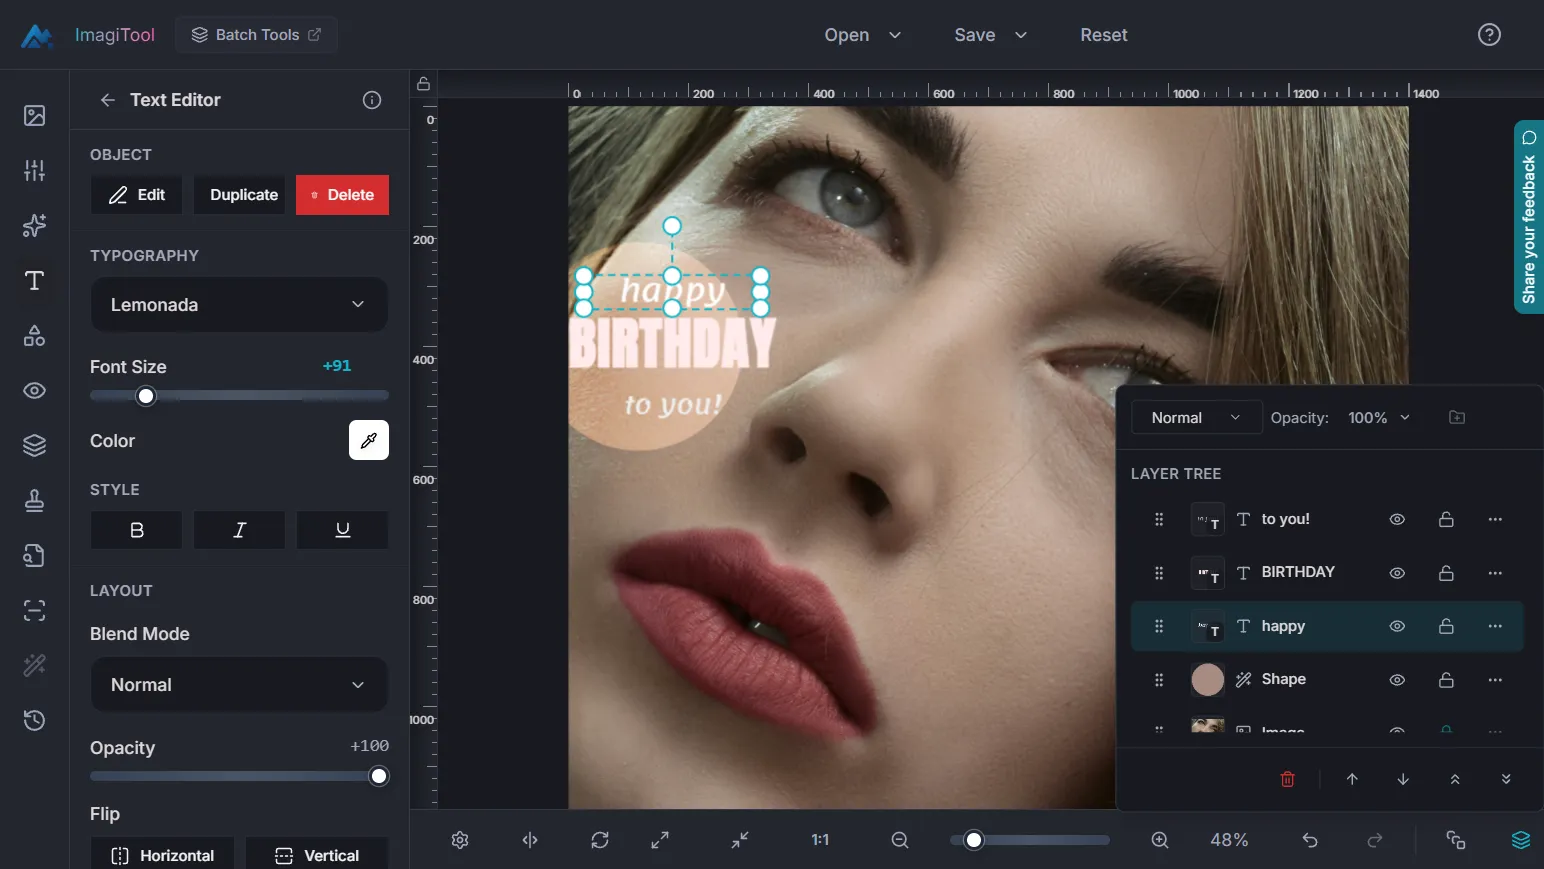
Quick example: A product post might use one photo layer, one price text layer, and one sale badge graphic layer. You can adjust only the badge position without touching the photo.
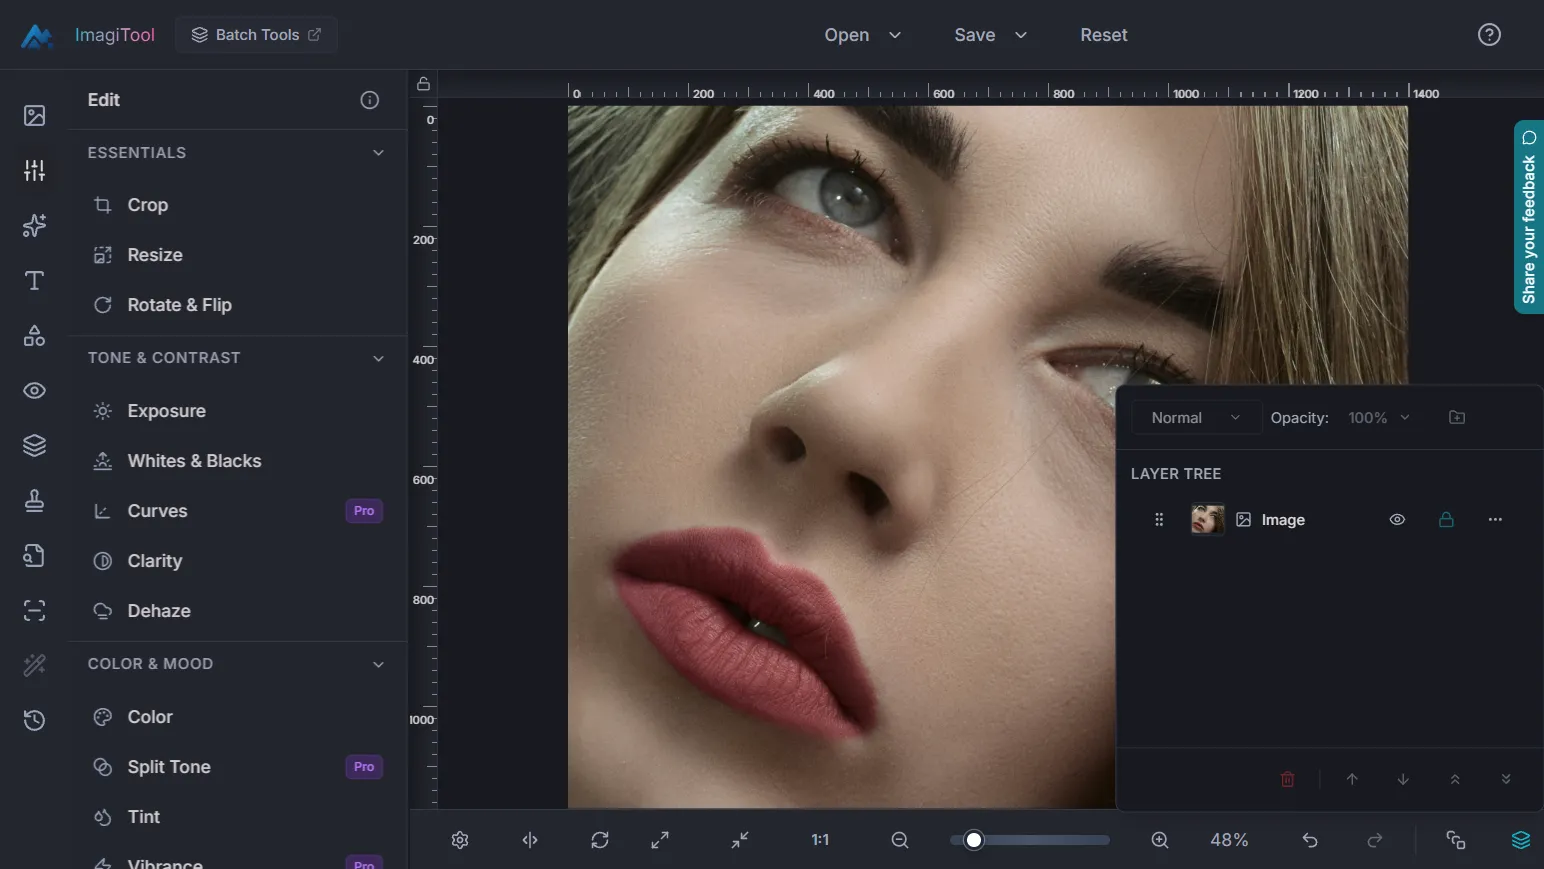
Step 2: Open the Layers Panel and Read the Stack
- Click Layers in the bottom bar, or press
L. - Use the layer list to select what you want to edit.
- Use the eye icon to hide a layer temporarily.
- Use the lock control when you want to prevent accidental edits.
For a practical breakdown of each control, read Layer Properties. For a workflow-first walkthrough, read Adding and Editing Layers.
Step 3: Select Multiple Layers and Create a Group
- Select one layer, then use
Ctrl/Cmd + Clickto add more. - You can also use
Shift + Clickto select a range. - Click the Group button to combine selected layers into one group.
Grouping is useful when separate elements should move and scale together, like a logo + label pair or a headline + subtitle block.
Step 4: Move and Arrange as One Unit
Once grouped, you can treat the set as one object for layout work.
- Drag the group on canvas to reposition all included layers.
- Reorder group depth with Bring Forward, Send Backward, Move To Top, or Move To Bottom.
- Expand or collapse the group in the layer tree to keep the list clean.
Key Terms at a Glance
- Layer -> One editable item in your project.
- Group -> Multiple layers bundled for shared transforms.
- Stack order -> The front-to-back order of layers.
- Active layer -> The currently selected layer receiving edits.
- Lock state -> A control that prevents unwanted changes.
Pro Tips
- Name important layers early so large projects stay readable.
- Group related items before you start resizing layout sections.
- Hide alternate versions instead of deleting them too early.
- Use
Loften while editing to verify stack order before export.
Common Issues
Why is the Group button disabled?
You need at least two compatible selected layers before grouping.
Why did only one object move?
That layer was selected alone. Multi-select the full set, then group.
Why is Layers unavailable sometimes?
The Layers control activates after an image is loaded into the editor.
What Comes Next in Layers and Group
This article is your foundation. The next guides in this category cover deeper workflows:
- Layer Properties
- Understanding Opacity and Blend Modes
- Adding and Editing Layers
- Selecting Multiple Layers
- How to Group Layers
- How to Resize Groups
- How to Move Groups