Get to Know the Photo Editor
ImagiTool Team
Learn the Photo Editor workspace layout, core controls, and first-edit workflow so you can move faster from upload to export.
ImagiTool Photo Editor gives you one workspace for editing and exporting single images. This guide shows what each area does and how to finish your first project quickly.
What You'll Learn
- How the top bar, sidebar, bottom bar, and canvas work together.
- How to start a project and move through your first edit.
- Which export formats are available inside the Photo Editor.
Workspace Basics
Top Bar
- Use Open to import from computer or phone.
- Use Save to export your finished image.
- Use Reset to restart the current project.
- Use Batch Tools to jump to multi-file workflows when needed.
Left Sidebar
- Image Manager helps you manage your working image.
- Adjust, AI Tools, Text, Graphics, Effects, and Overlay are your main creative panels.
- History helps you review and return to previous edit states.
- Utility shortcuts like Bulk Watermark, RAW File Viewer, and DPI Converter open in dedicated tools.
Bottom Bar
- Zoom controls include Zoom In, Zoom Out, Fit to Screen, and 1:1.
- Compare with original lets you hold and preview before/after.
- Undo and Redo are always accessible for fast iteration.
- Layer controls include Flatten Layers and Layers actions.
If you are new to layer workflows, start with Introduction to Layers and Groups. Then continue with Layer Properties to learn visibility, lock, rename, and reorder controls. When you are ready to control layer interaction, read Understanding Opacity and Blend Modes.
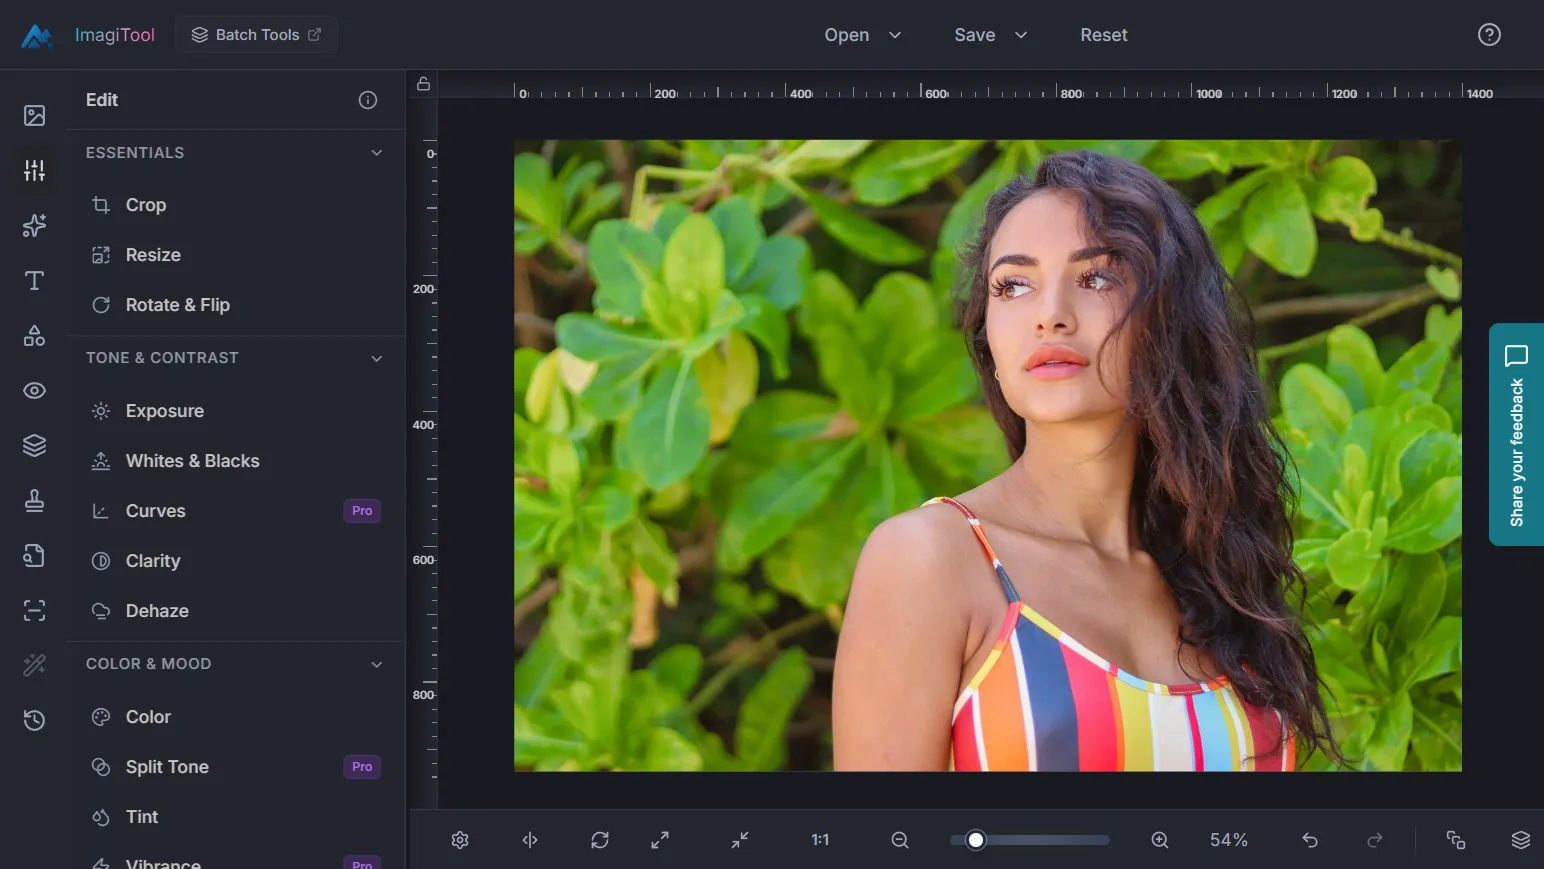
Canvas Area
- Your uploaded image appears on the main canvas.
- Context overlays appear for tools like crop, rotate, and alignment.
- On desktop, you can pan with Space and zoom for detail work.
Start Your First Edit
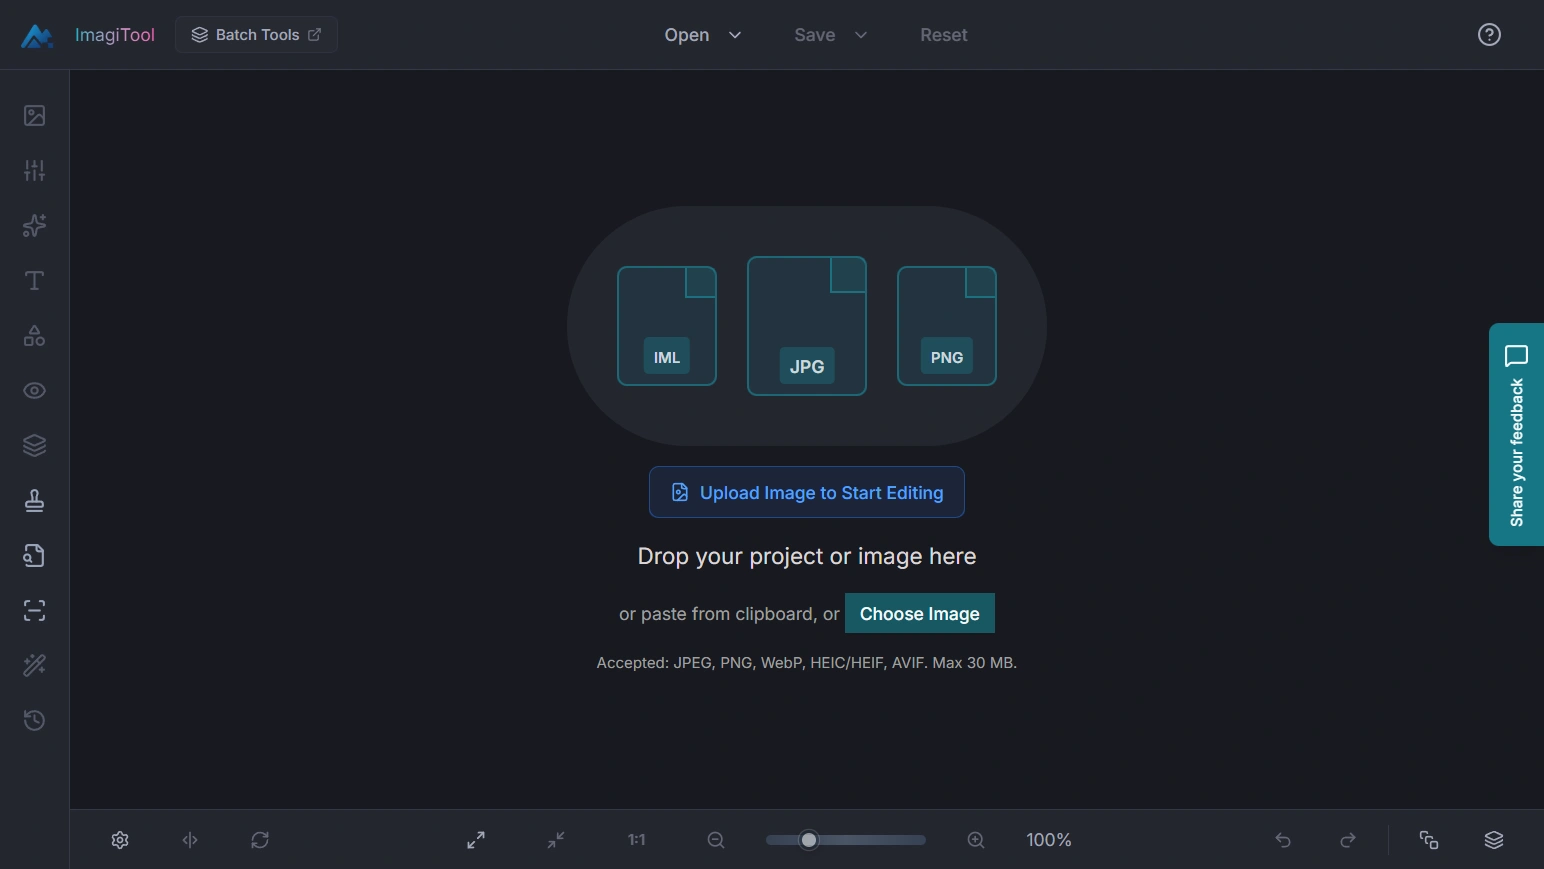
Step 1: Upload Your Image
- Drag and drop into the upload area, or click Open.
- Supported upload formats are JPEG, PNG, WebP, AVIF, and HEIC/HEIF.
Step 2: Apply Core Edits
- Open Adjust for crop, resize, and tonal improvements.
- Add style with Effects or design elements with Text and Graphics.
Step 3: Review Before Export
- Use zoom controls and compare view to inspect details.
- Use history to revert to an earlier clean state when needed.
Step 4: Export the Final Image
- Click Save and choose your output format.
- For single-photo workflows, complete everything inside this workspace.
Export Options in Photo Editor
- Supported export formats include JPG, PNG, PDF, WebP, SVG, GIF, BMP, TIFF, HEIC, and AVIF.
Pro Tips
- Use
Ctrl/Cmd + Oto open andCtrl/Cmd + Sto export faster. - Use
Ctrl/Cmd + ZandCtrl/Cmd + Shift + Zfor fast revision loops. - Use number keys
1to6to jump between core sidebar panels. - Keep single-image editing in Photo Editor and use utility tools for batches.
Common Issues
Why is Save disabled?
Save actions require an active image in the editor. Upload a file first.
Why is a panel unavailable?
Most creative panels activate after you upload an image.
Why does export take longer for some formats?
Export time can vary based on image dimensions, selected quality settings, and overall project complexity.