How to Convert Any Image to 600 DPI: Complete 2025 Guide - ImagiTool
Learn how to quickly convert images to 600 DPI for printing, scanning, and professional use. Step-by-step tutorial with free online tools and expert tips.
Alex Rodriguez
Photography workflow specialist with 10+ years optimizing image processing

How to Convert Any Image to 600 DPI: Complete 2025 Guide
Ever tried to print a photo or scan a document, only to be told it needs to be “600 DPI”? You’re not alone. Whether you’re prepping artwork for a gallery, submitting forms, or just want your prints to look sharp, converting images to 600 DPI is a must-have skill.
This guide is your shortcut - no confusing tech talk, just clear steps and pro tips from years in the trenches.
Why Change Image DPI?
Here’s why bumping up your DPI matters:
- Print submissions: Most print shops and official forms demand 600 DPI for crisp results.
- Scanning: Higher DPI means every detail gets captured.
- Art & photos: Portfolios, resumes, and digital art look their best at 600 DPI.
- OCR: Text recognition software works better with high-res images.
What is DPI & Why Does It Matter?
Think of DPI (dots per inch) as the “resolution” for print. More dots = more detail. Screens usually show images at 72-96 DPI, but for print, 300-600 DPI is the gold standard.
Fastest Way: Convert Image to 600 DPI Online
If you want quick results, ImagiTool's DPI Converter is a game-changer:
- Handles JPG, PNG, TIFF, BMP, PDF, and more
- No sign-up, no downloads - just upload and go
- Batch convert dozens of files at once
- Keeps your image quality and size intact
- Secure uploads, auto-delete after 1 hour
How to Convert Images to 600 DPI Online
Step 1: Upload Your Images
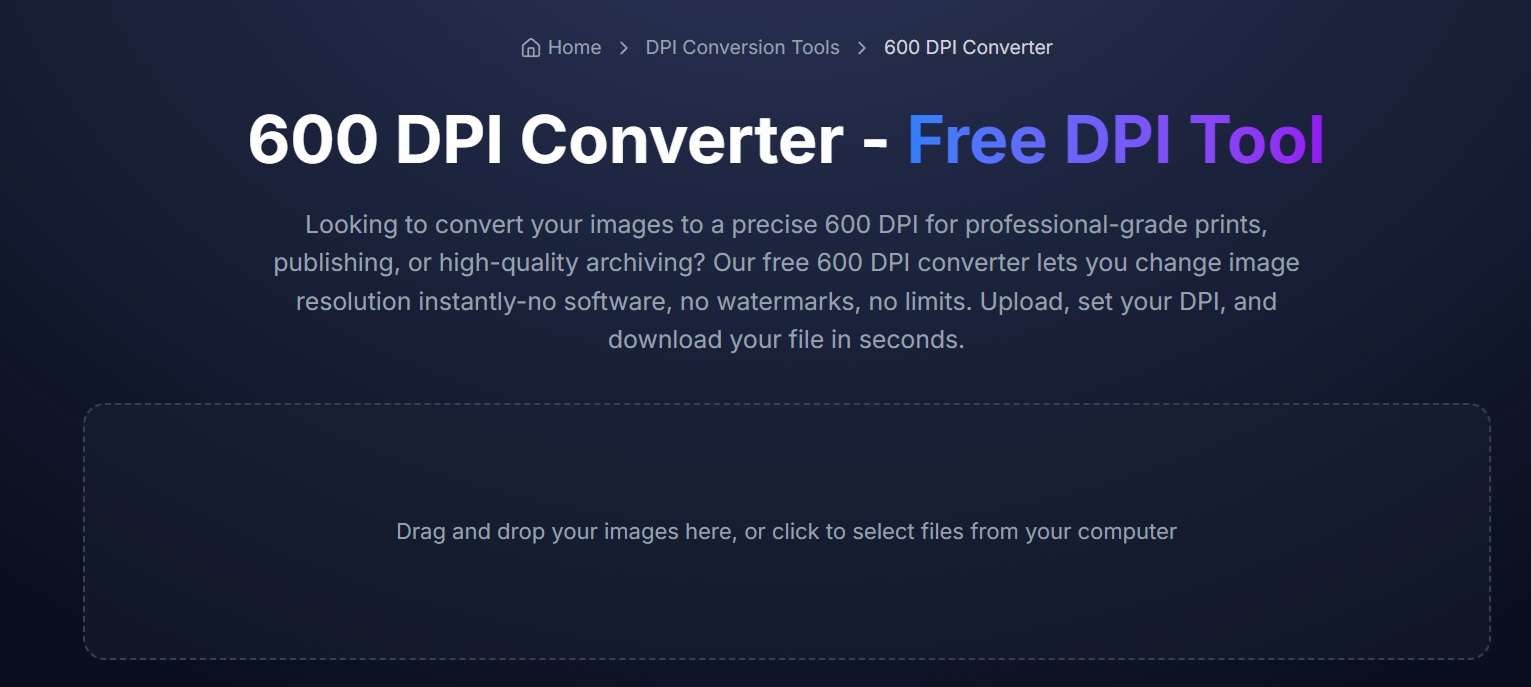
- Visit ImagiTool's DPI Converter
- Drag in your images or select them (JPG, PNG, PDF, etc.)
Step 2: Set DPI Value
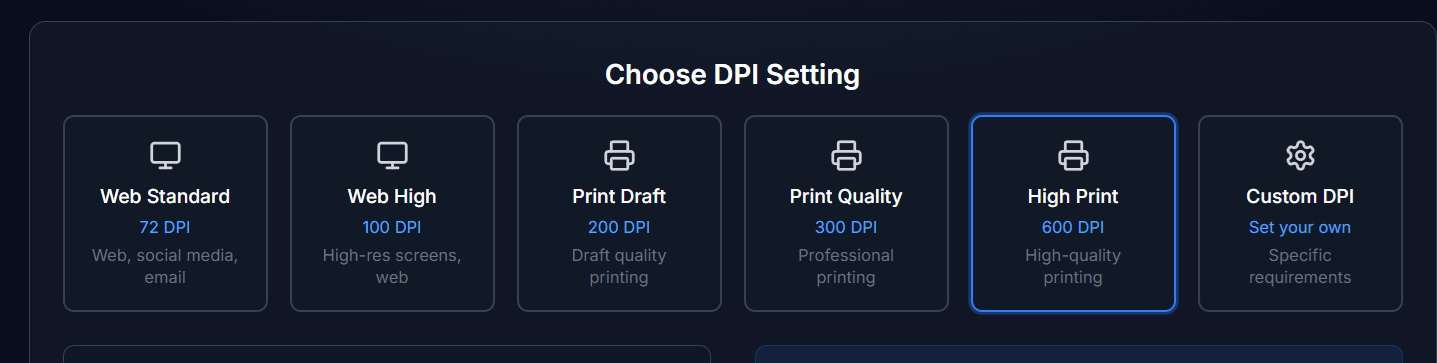
- Type “600” as your target DPI
- You can change the output format or stick with the original
Step 3: Advanced Options (Optional)
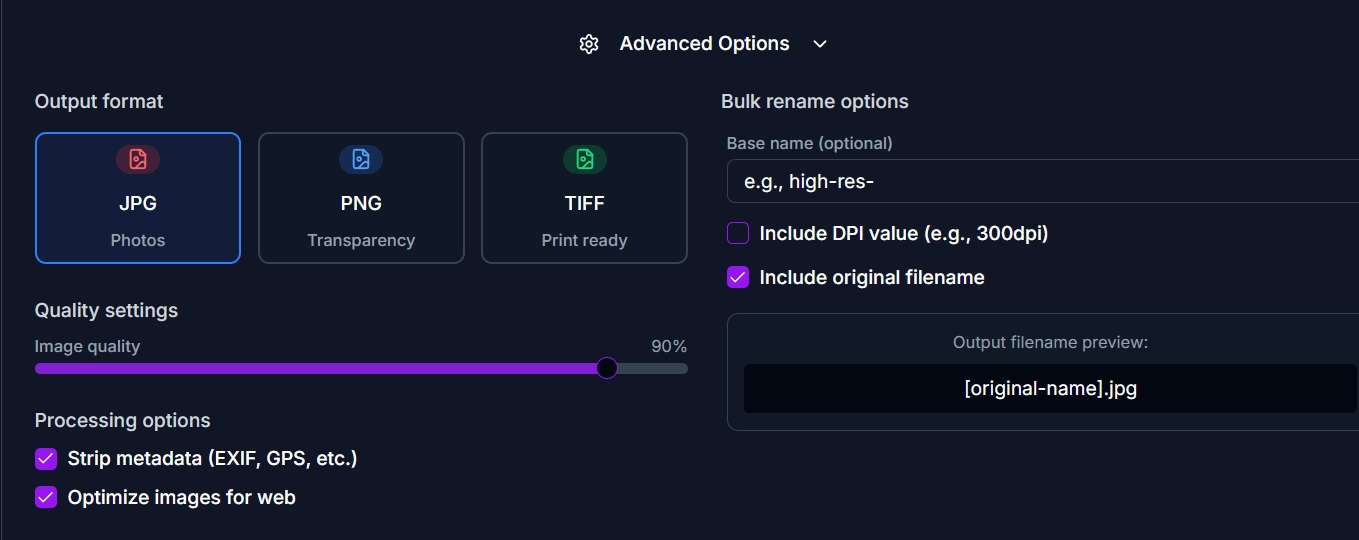
- Pick your output format (JPG, PNG, PDF, etc.)
- Adjust quality if you want
- Use bulk rename for easy downloads
Step 4: Convert & Download

- Hit “Convert to 600 DPI”
- Download each file or grab them all in a ZIP
Other Ways to Adjust Image DPI
Windows
- Paint: Open, resize, set DPI, save. Simple for quick fixes.
- Photoshop: Go to Image > Image Size, set DPI, save as new.
- GIMP: Image > Print Size, change DPI, export.
Mac
- Preview: Tools > Adjust Size, set DPI, save.
- Photoshop: Same as Windows.
Mobile
- iOS/Android: Apps like Snapseed or Adobe Express can help (though options are limited).
Quality & Format Tips
- Keep dimensions: Changing DPI for print won’t affect how images look on screens.
- Best formats: PNG or TIFF for lossless quality; JPG for smaller files.
- Batch jobs: For lots of images, online tools or desktop apps are your friend.
Best Practices
- Double-check DPI: After conversion, right-click and check properties.
- Backup originals: Always keep a copy, just in case.
- Print a test: Make sure your image looks sharp before sending it off.
- Watch file size: Higher DPI can mean bigger files - optimize if needed.
Conclusion
Converting images to 600 DPI doesn’t have to be a headache. Try ImagiTool’s free DPI adjustment tool and get print-ready results in minutes.
Ready to upgrade your images? Give it a try and see the difference for yourself.
Frequently Asked Questions
How many images can I convert at once?
ImagiTool lets you batch convert as many as you need.
Will changing DPI affect image quality?
DPI for print doesn’t change pixel quality; resizing might.
Can I convert PDF or TIFF files?
Absolutely - major formats are supported.
Is it safe to upload sensitive documents?
Yes, everything’s encrypted and deleted after 1 hour.
How do I check DPI after conversion?
Right-click the file, check properties, or open in your favorite editor.
Can I use this tool on mobile?
Yep - works on any device with a browser.


