Sharpen Image Online: Make Blurry Photos Crystal Clear
Transform blurry photos into crisp, professional images. Learn how to sharpen images online free with GPU-accelerated real-time preview and perfect control.
Melanie Garcia
Senior Image Processing Engineer with 8+ years optimizing web performance

I once had a client send me 47 product photos for their new jewelry line. They were gorgeous pieces - rose gold, hand-set stones, delicate filigree work. But every single photo was soft. Not blurry enough to be unusable, but soft enough that you couldn't see the craftsmanship that justified the $800 price tags.
The photographer had missed focus by just a hair. The client was devastated. They'd already paid for the shoot, the products were shipped to customers, and retakes would take two weeks.
I opened the images, applied strategic sharpening, and sent them back in 20 minutes. The client called me an hour later, nearly in tears. "These look better than what we got from the photographer."
That's the power of proper image sharpening. It won't save a completely out-of-focus disaster, but for 80% of "soft" photos, it's the difference between unusable and professional.
What Image Sharpening Actually Does
Let's start with the truth: Sharpening cannot create detail that doesn't exist. If your photo is a blurry blob, no amount of sharpening will turn it into a National Geographic cover.
But here's what it can do.
Sharpening works by increasing the contrast along edges in your image. When you look at a "sharp" photo, what you're really seeing is well-defined boundaries between different areas - the line where a subject meets the background, the texture of fabric, the separation between eyelashes.
The Technical Reality (Without the Jargon)
The algorithm looks at each pixel and compares it to its neighbors. If there's a difference (an edge), it makes the light side lighter and the dark side darker. This creates the illusion of increased clarity.
Professional tools like ImagiTool use an unsharp mask technique. Despite the confusing name, it's the gold standard. The algorithm samples diagonal neighbors at a precise distance to avoid creating artificial patterns or halos. You can sharpen images online without downloading software, and the results match Adobe Photoshop quality.
Why Sharpness Matters More Than You Think
In the age of Instagram filters and AI enhancement, you might think sharpness is just a technical detail. But perception studies show that humans judge image quality primarily on three factors:
- Sharpness (Does it look clear?)
- Color accuracy (Does it look real?)
- Exposure (Can I see the subject?)
Sharpness isn't third on that list - it's first. Before a viewer consciously registers what your photo is about, their brain has already decided if it looks "professional" or "amateur" based on edge clarity.
Real-World Impact
- E-Commerce: A study by BigCommerce found that product images with crisp detail had 27% higher conversion rates.
- Social Media: Instagram's algorithm favors sharp images - they get more engagement because users scroll slower.
- Print: Images that look acceptable on screen often appear soft when printed. Sharpening is essential for print-ready files.
The ImagiTool Approach: Precision Without Complexity
Most sharpening tools give you two options: a "Sharpen" button or a nightmare of sliders (Radius, Threshold, Amount, Halo Suppression). The first is too simple; the second requires a degree in image processing.
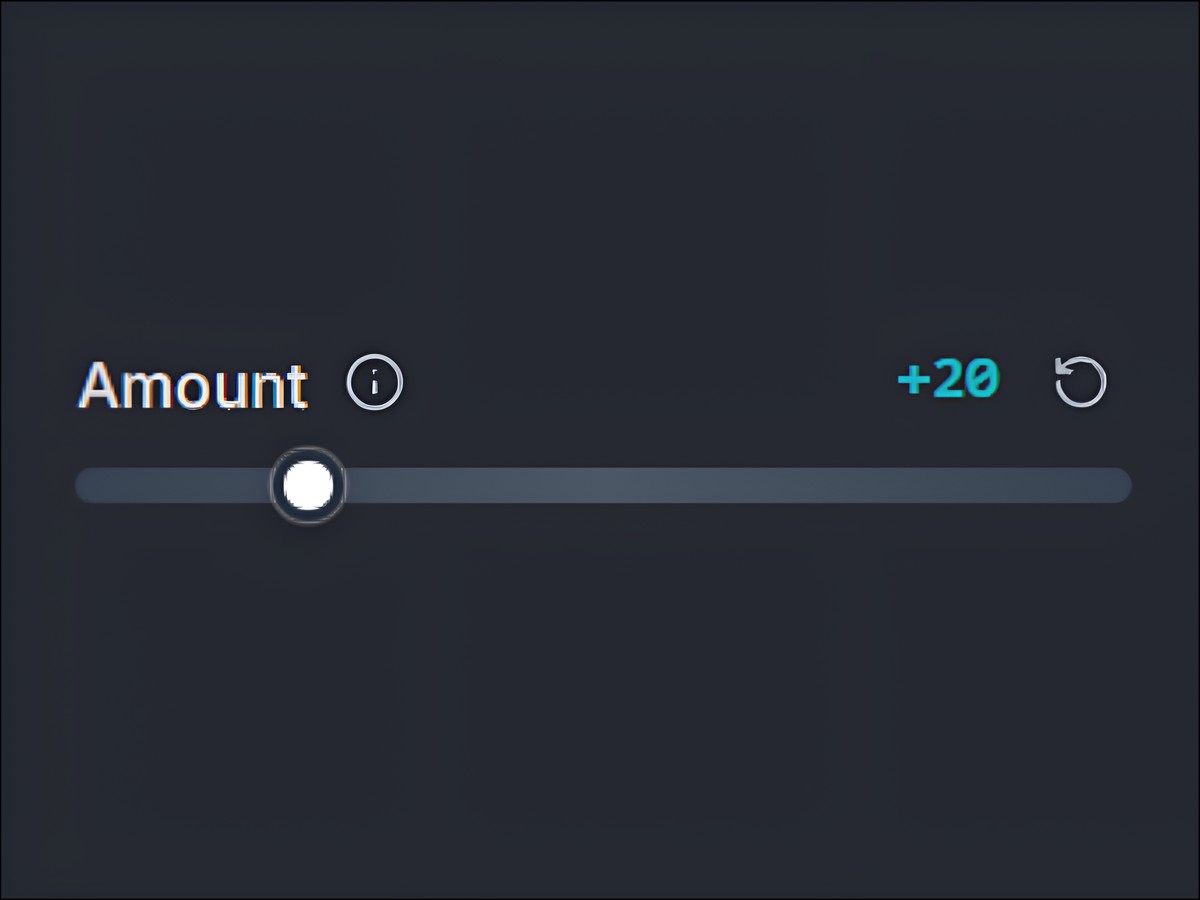
We took a different approach. One slider, from 0 to 100, that maps intelligently to professional sharpening ranges. But unlike competitors, you see the result in real time as you move the slider - no "apply and hope."
The Control Panel
Amount Slider (0-100):
- 0-25: Subtle enhancement. Ideal for portraits where you want to preserve skin texture without harsh lines.
- 25-50: Standard sharpening. This is the sweet spot for everyday photos, social media, and web use.
- 50-75: Strong sharpening. Use this for landscapes, architecture, and product photography where fine detail matters.
- 75-100: Maximum sharpening. Reserve this for technical images or situations where you need extreme clarity (and are willing to risk slight halos).
The key is the real-time GPU preview. You're not guessing. You're seeing exactly what you'll get, at 60 frames per second, as smooth as a video game.
Step-by-Step: Sharpening Your First Image
Let's walk through a typical rescue mission for a soft photo.
Step 1: Upload and Assess
Bring your image into the editor. Zoom to 100% (actual pixels) and look at the edges. Are they soft? Can you see detail in the texture, or does it look like a watercolor painting?
If the image is slightly out of focus or affected by camera shake, sharpening will help. If it's completely blurry (extreme motion blur, severe missed focus), manage your expectations.
Step 2: Start Conservative
Open the Sharpen tool from the Adjustments panel. The slider starts at 0. Begin by moving it to 25-30 and observe the preview. You should immediately see edges becoming more defined.
Pro Tip: Zoom in to 100% on a critical area - an eye in a portrait, text on a product label, or the edge of a building. Watch that specific area as you adjust the slider.
Step 3: Find the Edge (Literally)
Gradually increase the slider. Stop the moment you see:
- Halos: Bright outlines around dark objects or dark outlines around bright objects.
- Texture Overload: Skin that looks like leather, or smooth surfaces that suddenly have noise.
- Unnatural Contrast: The image looks "digital" or overly processed.
That's your limit. Back off by 5-10 points.
Step 4: Apply and Move On
Press Enter (or click Apply) to bake the sharpening into your canvas. The change is permanent in the edit history, but you have 50 levels of undo if you change your mind.
Keyboard Shortcuts:
Enter- Apply and closeEsc- Cancel without applyingR- Reset to 0 (neutral)
Use Case Recommendations: The Cheat Sheet
Not all photos need the same level of sharpening. Here's your quick reference guide.
Portraits (Amount: 15-30)
Human faces are unforgiving. Over-sharpened skin looks reptilian. You want to enhance the eyes, hair, and lips without turning pores into craters.
- Focus: Eyes and eyelashes.
- Avoid: Cheeks and forehead (soft is flattering here).
- Tip: If the person has acne or wrinkles, stay under 20.
Landscapes (Amount: 50-70)
Nature photography thrives on texture - the bark of trees, the ripples in water, the sharp peak of a mountain. You can push sharpening higher here because there are no "unflattering" details.
- Focus: Distant details (trees on a hillside, clouds).
- Avoid: Skies with gradients (can introduce banding).
Product Photography (Amount: 50-65)
E-commerce images must look professional and trustworthy. Buyers zoom in to inspect stitching, engravings, and labels. Sharpness signals quality.
- Focus: Product edges, text, fine detail.
- Avoid: Backgrounds (if separate, sharpen only the product layer).
Architecture (Amount: 55-75)
Buildings, bridges, and cityscapes benefit from crisp lines. Sharpening makes bricks look like bricks, not mush.
- Focus: Edges, patterns, windows.
- Avoid: Open sky areas.
Social Media (Amount: 30-45)
Instagram and Facebook compress your images. If you sharpen too much, the compression will exaggerate artifacts. Stay moderate.
- Focus: Main subject.
- Tip: Test by exporting at lower quality and checking how it looks.
Common Pitfalls (And How to Avoid Them)
Mistake 1: Sharpening First
If you sharpen before adjusting brightness, contrast, or color, those edits will amplify the sharpening effect - often to ugly extremes. Always sharpen last.
Mistake 2: Sharpening Low-Resolution Images
If your image is 500x500 pixels, sharpening won't magically make it high-resolution. You can't add information that isn't there. Light sharpening (15-25) is the most you should attempt.
Mistake 3: Not Checking at 100% Zoom
That halo around your subject? It might be invisible at thumbnail size but glaringly obvious when viewed full-screen. Always zoom to actual pixels before finalizing.
Mistake 4: Using the Same Setting for Every Photo
Every image is different. A setting that makes one photo pop will destroy another. Use the slider as a starting point, not a one-size-fits-all solution.
The One Sentence Rule
If you take nothing else from this guide, remember this: Sharpening should make your image look clearer, not "sharpened."
If someone looks at your photo and says, "Did you sharpen this?" you've gone too far. If they say, "Wow, that's a great photo," you nailed it.
